The Aerial Data Download facility in Digimap allows you to:
Note: although we use a shopping basket, all data is free. There are Terms and Conditions that cover the use of the data.
Aerial Data Download can be accessed from the Aerial Digimap page.
Select the Aerial Data Download button.
If the Aerial Data Download button is not available, the most likely cause is that you are at an institution that does not allow Data Download off campus.
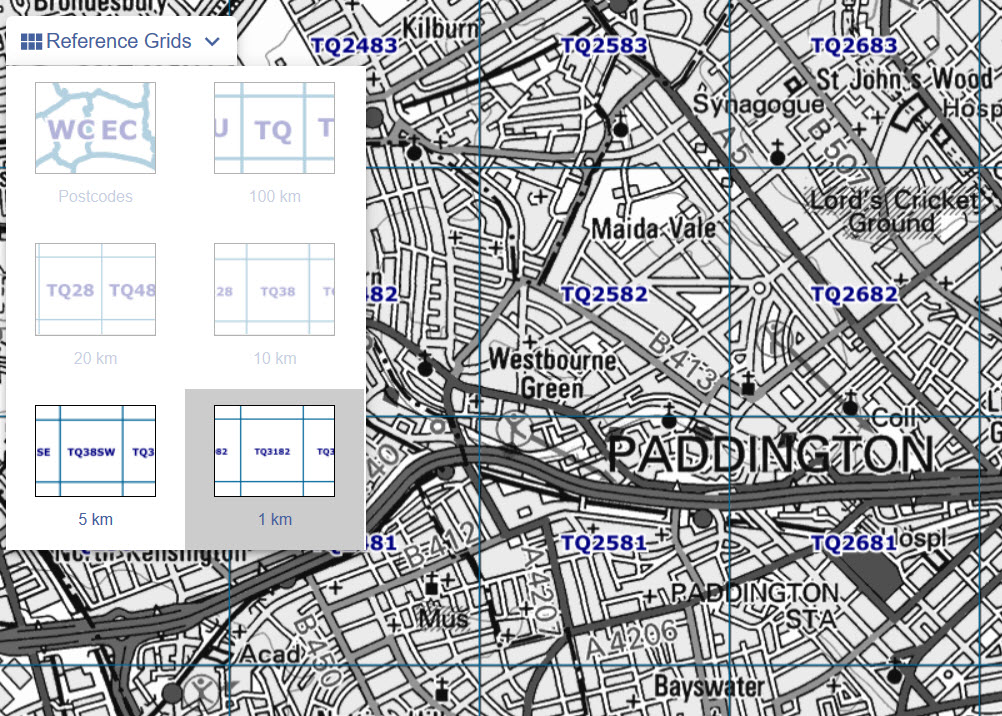
You can search for your area of interest by:
using the search box to search for a placename, postcode or geographic coordinates

panning and zooming the map.
there are reference grids (postcodes or national grid squares) you can switch on to help you identify your area. Select any grid using the Reference Grids menu on the left of the map.
Note: the maps you view in Data Download are only to help you identify your area. They do not reflect the data product(s) you will order.
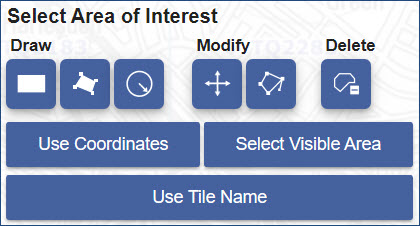
You must define your area on the map. There are several tools available, shown in this image:
Select
the Draw rectangle button,
 click
on the map, drag to highlight your area, release when you have finished
drawing.
Select
the Draw polygon button,  click on the
map, clicking at each point you wish to draw. Double click when you
have finished drawing.
Select
the Buffer button,  you can create point or line buffers
to select everything with a set distance of a point or line.
The
delete button  can be used to clear the selected
area and start again.
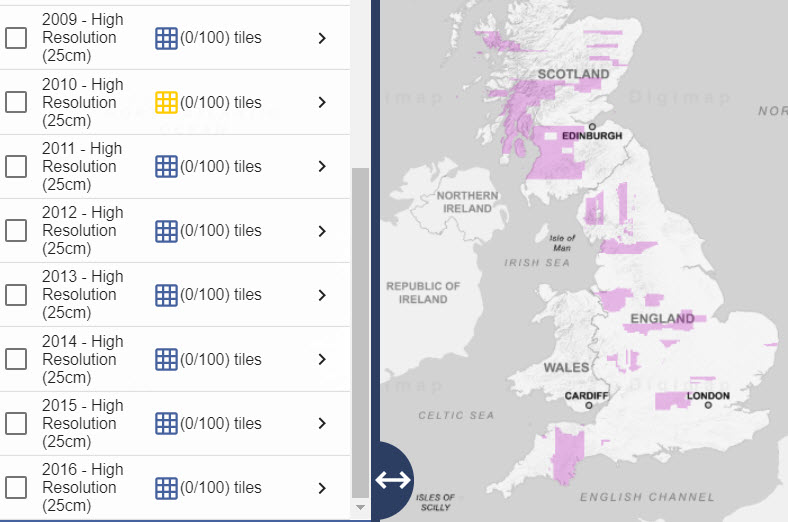
High resolution Aerial Imagery, from 1998 to 2016 (not 1999 or 2004).
You can select the latest imagery or select a particular year. Selecting Aerial Imagery (latest) provides you the most recent data for your area. The areas covered in the different years vary a lot.
Select the down arrow next to any category to see the available data products.

Each category has:
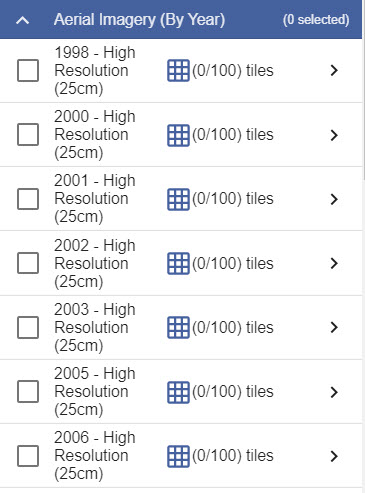
Click the arrow to the right of any product name.
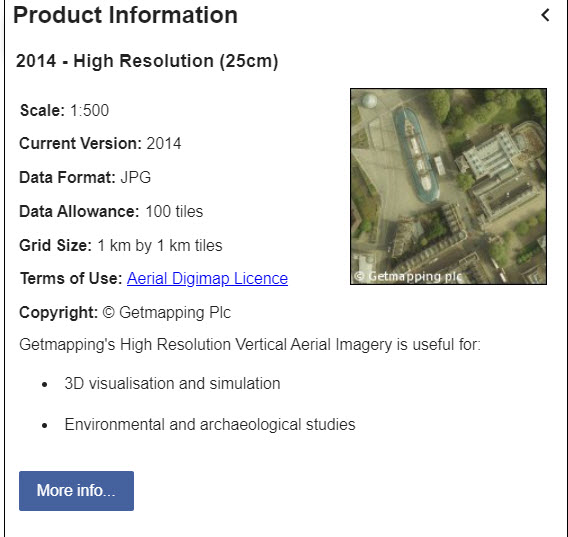
The Product Information pop-up, see image below, contains information about the scale, formats, allowance, grid size, licence and uses.
Click More Info. on the box for a detailed help page.
Each pop-up has a link to the licence agreement for the product you are interested in.

These vary between collections, depending on the format of the data.

Select Add more data to select more data products.
You can then either add more products for the same area or make a new area selection and add products for it.

There are separate Help pages that give you information about how to use the data in various GIS and CAD packages.